What Goes Into a Professional Fencing Installation?
Installing a fence is one of the most effective ways to secure your Cape Town property, define boundaries, and add value. Whether you are planning clearview fencing, palisade fencing, wooden fencing, or a combination with electric fencing, understanding the installation process helps you plan effectively and avoid costly surprises.
This guide walks you through every stage of a professional fencing installation, from the initial site survey to the final handover. Knowing what to expect at each step ensures your project runs smoothly and delivers the results you want.

Pre-Installation Checklist
Before any work begins on site, there are several important preparations:
- Confirm your property boundaries: Check your title deed or property plan to ensure you know exactly where your boundary lies. Installing a fence even slightly over the boundary can lead to disputes with neighbours.
- Check municipal regulations: Most Cape Town municipalities allow boundary fences up to 1.8m without planning permission under the National Building Regulations (SANS 10400). For taller fences, electric fencing, or properties in heritage areas, check with your local authority.
- Notify your neighbours: While not legally required for fences on your own property, it is good practice to let adjacent property owners know about planned fencing work.
- Check for underground services: Ensure there are no water pipes, electrical cables, or fibre optic lines running along the planned fence line. Contact your local utility providers if unsure.
- Clear the fence line: Remove plants, rubble, old fencing, and any obstacles along the planned fence route. Access for vehicles and equipment is essential.
- Body corporate approval: If you live in a complex, estate, or sectional title, get written approval from your body corporate or homeowners association before proceeding.
Step 1: Site Survey and Planning
Every professional fencing installation starts with a thorough site survey. A qualified installer will visit your property to:
- Measure the full perimeter length and note any corners, angles, or changes in direction
- Assess the terrain, including slopes, level changes, and soil conditions
- Identify obstacles such as trees, existing structures, retaining walls, and drainage
- Discuss your security requirements, preferred fence type, height, and coating
- Plan the positions of pedestrian and vehicle gates
- Note any special requirements such as electric fencing, razor wire, or automated gates
- Provide a detailed written quotation with a breakdown of all costs
Important: A reputable fencing contractor will always conduct a site survey before providing a quote. Be cautious of installers who quote over the phone without seeing the site, as this often leads to unexpected costs and delays during installation.
Step 2: Mark the Boundary
Once you have accepted the quote and scheduled the installation, the team begins by marking the exact fence line on the ground. This involves:
- Setting corner and end pegs at precise positions
- Running string lines between pegs to establish straight fence runs
- Marking post positions at regular intervals (typically 2.5m to 3.0m apart)
- Marking gate opening positions with the correct width allowance
- Using spray paint or stakes to mark each post location clearly
Accuracy at this stage is critical. Posts that are even slightly out of alignment will cause panels to sit unevenly, and a fence that wanders off the boundary can create legal problems with neighbours.
Step 3: Ground Preparation and Post Holes
With positions marked, the team excavates post holes. The method depends on the ground conditions:
- Normal soil: A hand or mechanical auger drills holes quickly to the required depth. Most residential post holes are 250mm to 300mm in diameter and 500mm to 600mm deep.
- Sandy soil: Common in areas like the Cape Flats, Milnerton, and Table View. Sandy soil requires wider holes and more concrete to ensure stable footings.
- Clay soil: Found in parts of the Southern Suburbs and Helderberg. Clay holds well but can expand and contract with moisture, so adequate drainage around footings is important.
- Rocky ground: Common in mountainous areas like Somerset West, Simon's Town, and parts of the Northern Suburbs. Rock drills or core drills are used, and in some cases, base plates are bolted directly to rock surfaces.
Any removed soil or rock is typically used to backfill around the concrete footings. Excess spoil is removed from site by the installer.
Step 4: Post Installation (Concrete Footings)
Steel fence posts are the backbone of any fencing installation. Here is how they are set:
- Place the post in the hole and check it is plumb (vertical) using a spirit level on two faces.
- Brace the post temporarily with props or stays to hold it in position.
- Pour ready-mixed concrete around the post base, filling the hole to ground level or slightly above.
- Tamp the concrete to remove air pockets and ensure full contact with the post.
- Check plumb and alignment one final time before the concrete begins to set.
- Allow concrete to cure for a minimum of 24 hours (48 hours in cold or wet weather) before attaching panels.
The post type varies by fence style: 76mm square tube for clearview fencing, I-beam or Y-posts for palisade, and timber posts for wooden fencing. Gate posts are always heavier gauge to support the weight and movement of gates.
Step 5: Panel and Rail Attachment
Once the concrete has cured, fence panels or rails are attached to the posts:
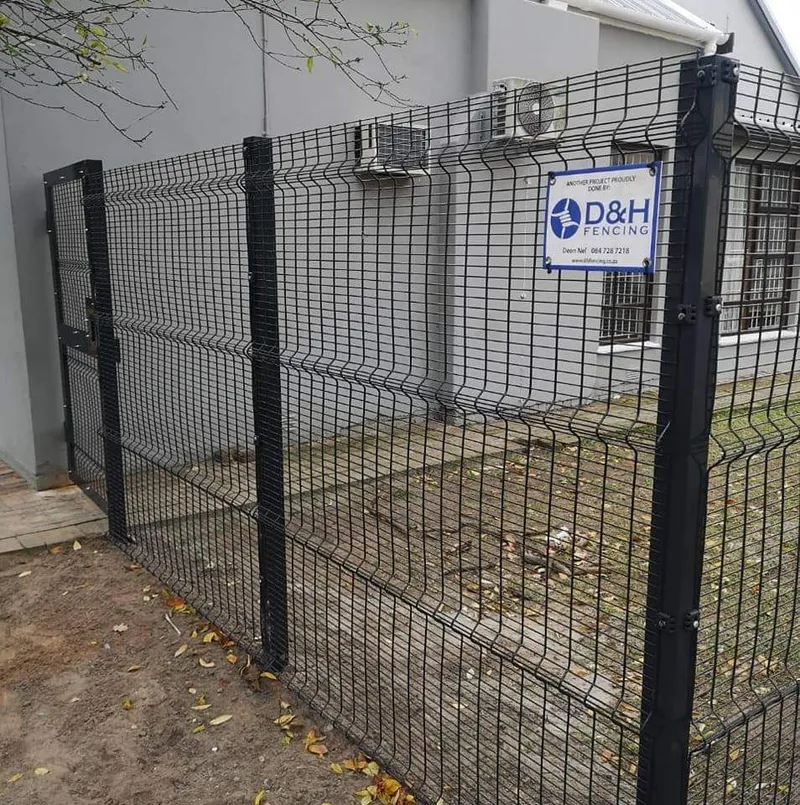
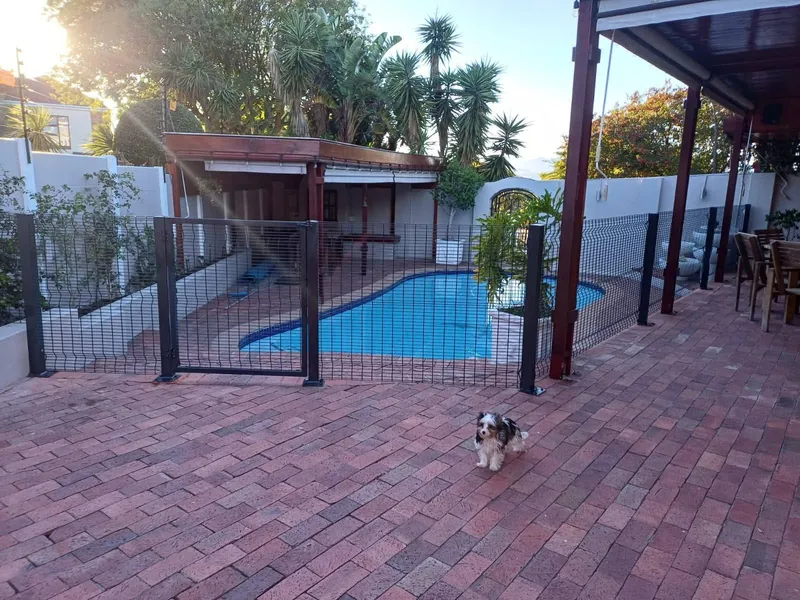
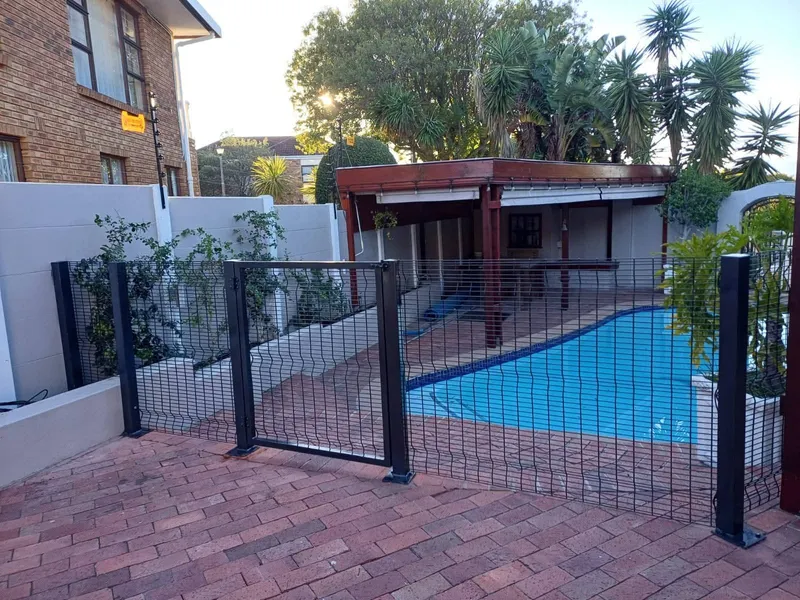
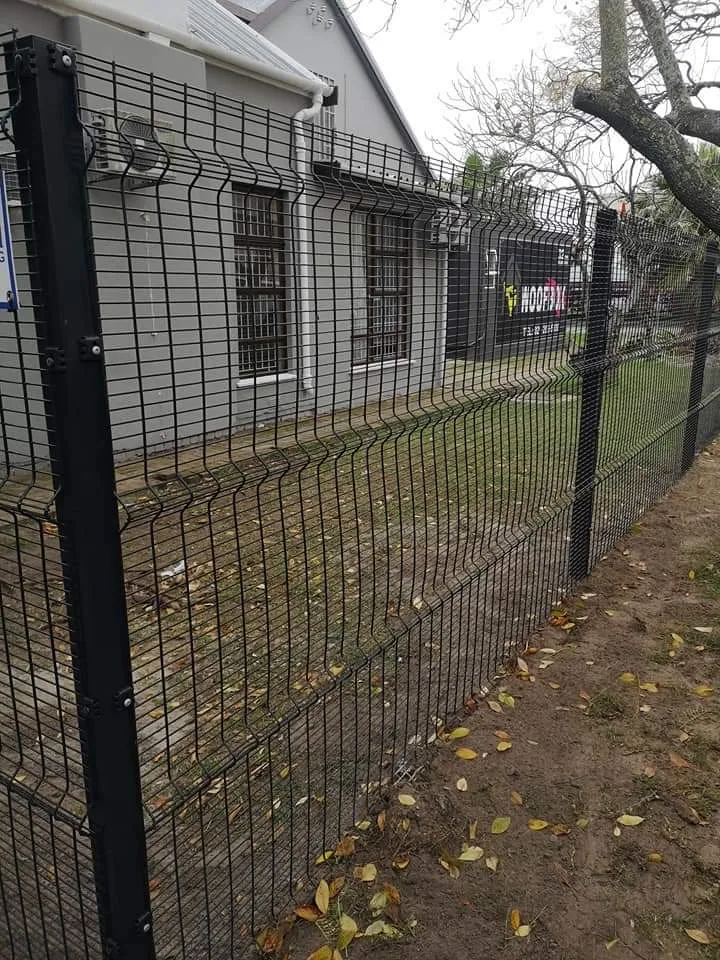
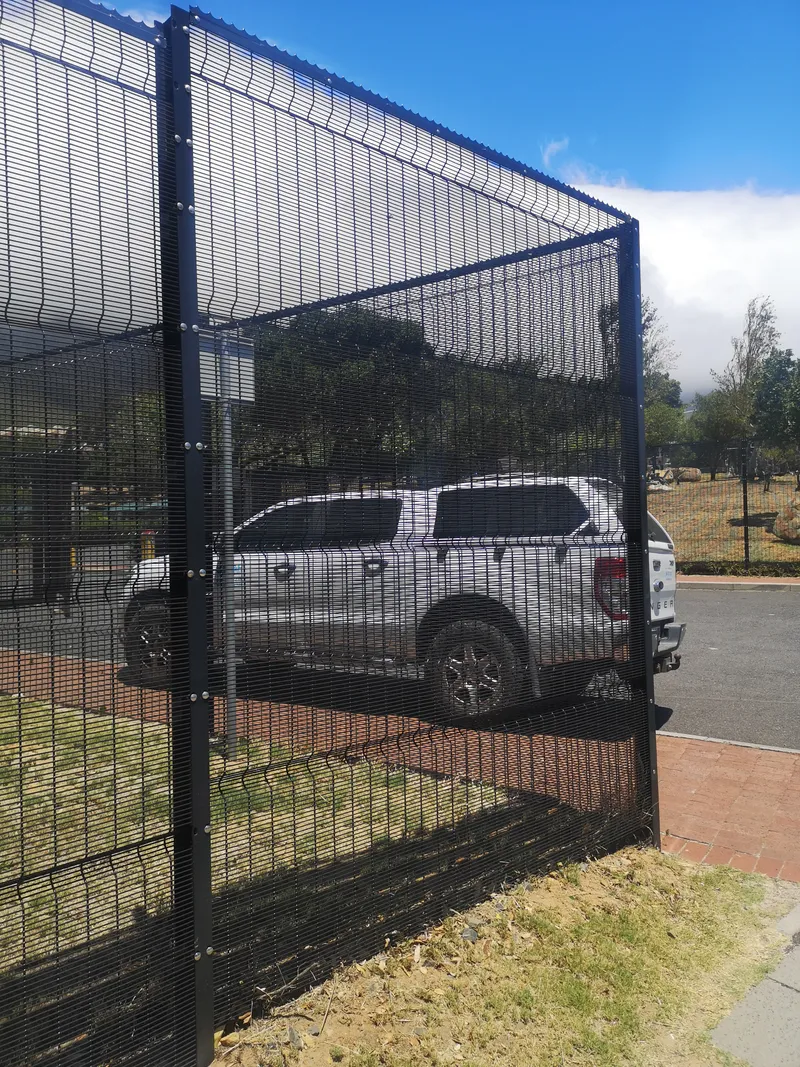
- Clearview and welded mesh: Pre-fabricated mesh panels are secured to posts using tamper-proof security clamps. Panels are overlapped at posts for added rigidity and to prevent gaps.
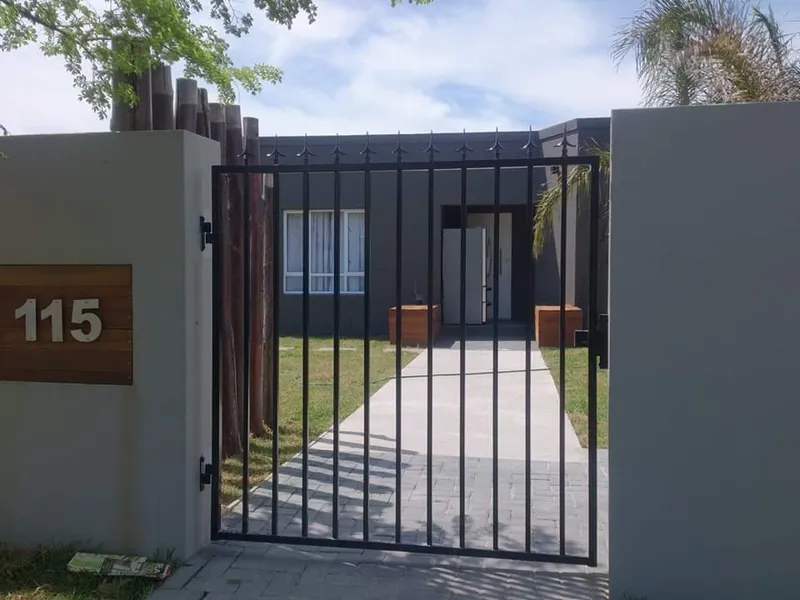
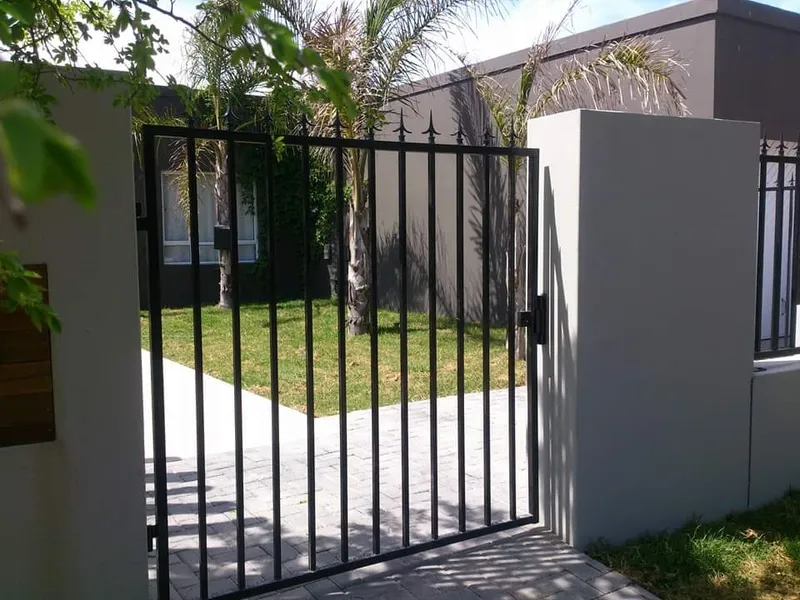
- Palisade: Horizontal rails are bolted to posts, then palisade pales are attached to the rails with tamper-proof fixings. Pales can be pointed, rounded, or flat-topped depending on the desired look and security level.
- Wooden fencing: Rails are nailed or screwed to posts, then planks, pickets, or panels are attached. Pre-treated timber is essential in Cape Town's climate.
- Boundary wall top fencing: Brackets are anchored to the top of existing walls, then fence panels or electric fencing is attached to the brackets.
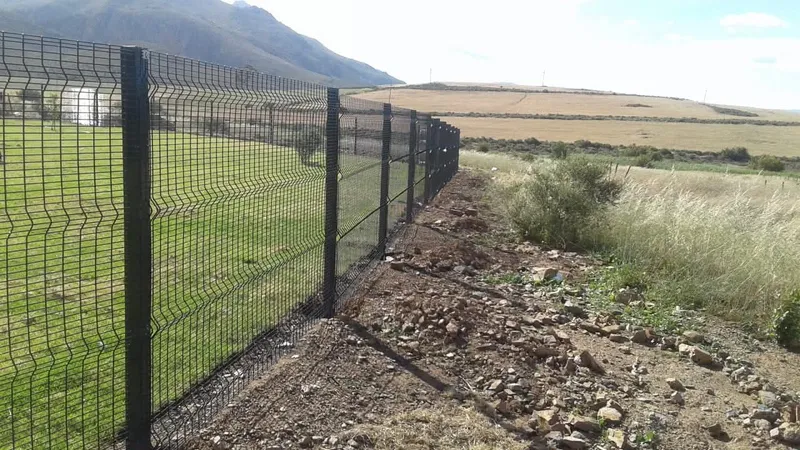
Each panel is levelled individually, and adjustments are made for any changes in ground level. On sloped sections, panels are either stepped (creating a staircase effect) or raked (angled to follow the slope).
Need Professional Installation?
Our SANS-certified team handles everything from site survey to final inspection. Over 5,000 installations completed across Cape Town.
Step 6: Gate Installation
Gates are a critical component of any fencing project. The installation process varies by gate type:
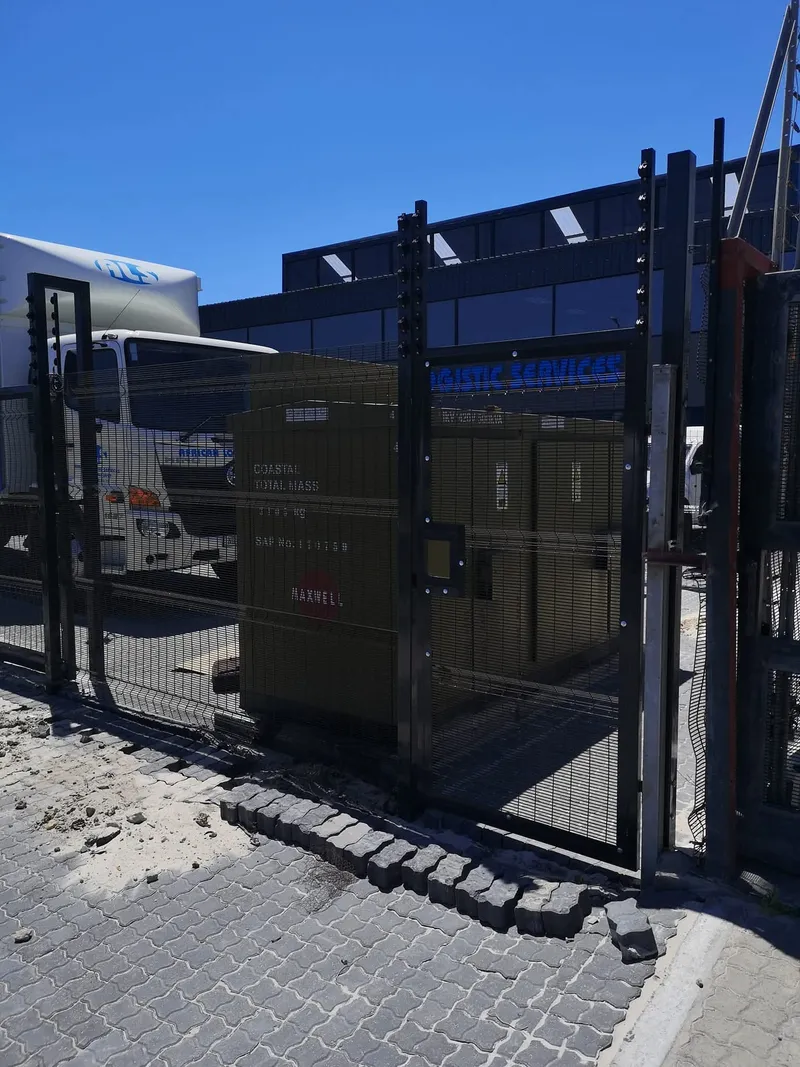
Pedestrian Gates
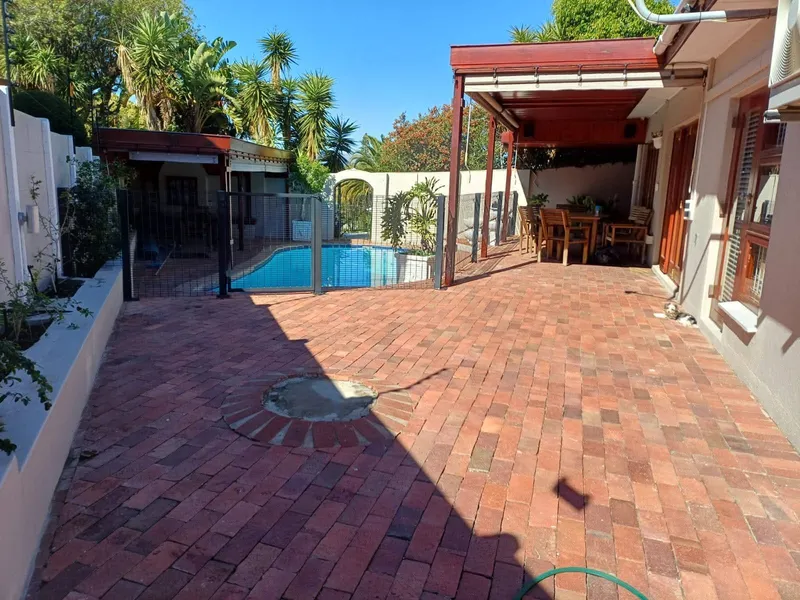
Single-leaf gates are hung on heavy-duty hinges welded or bolted to the gate posts. A latch, lock, and handle are fitted. Self-closing hinges can be specified for pool gates or child-safety applications. Most pedestrian gates are 1.0m to 1.2m wide.
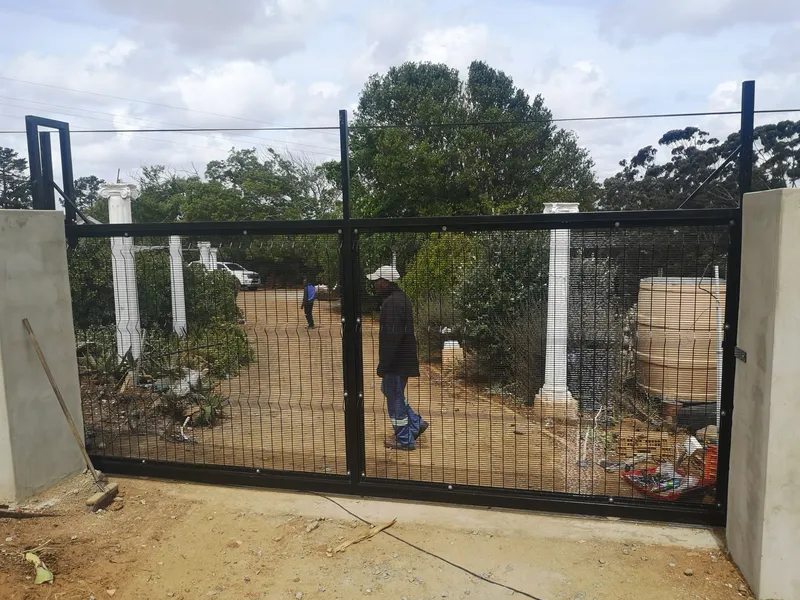
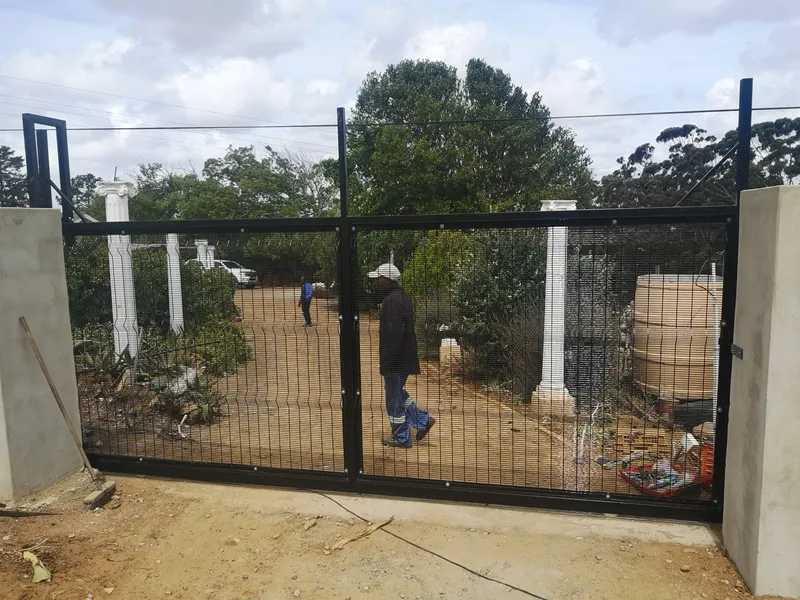
Vehicle (Driveway) Gates
Larger gates for vehicle access are typically 3.0m to 4.5m wide. They can be swing (single or double leaf) or sliding. Manual gates use a drop bolt and padlock, while automated gates include a motor, intercom, and remote-control system. Read our gate installation guide for more detail on gate options and automation.
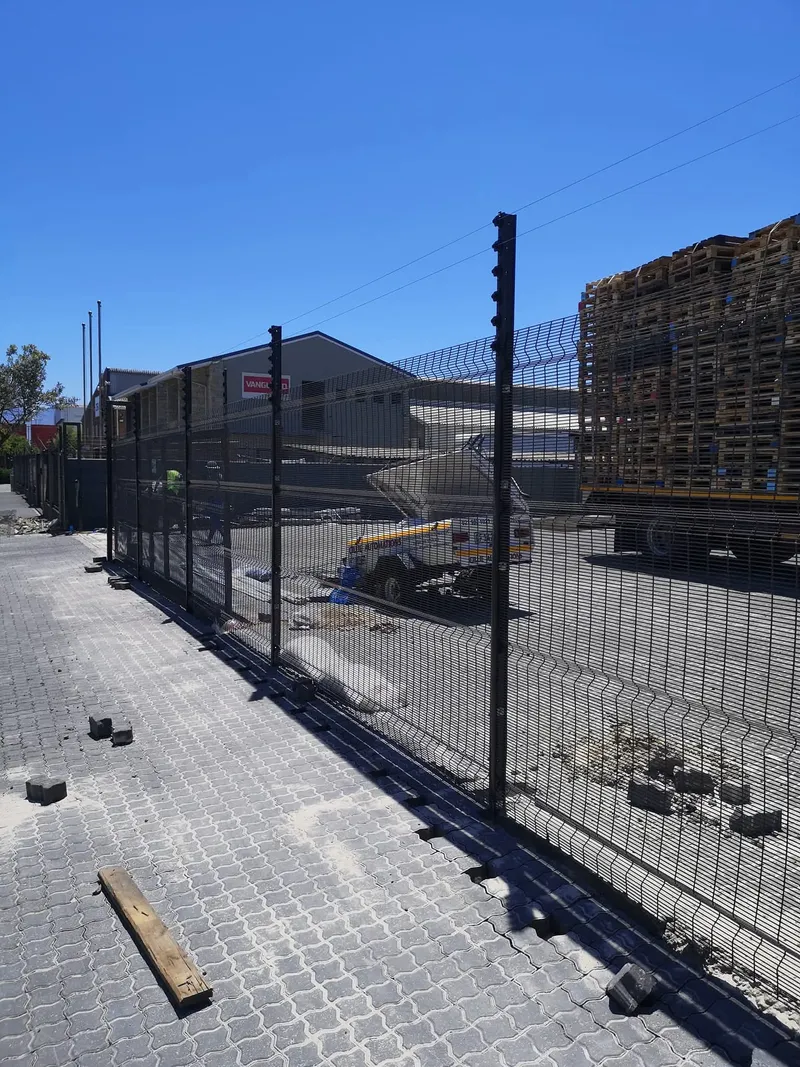
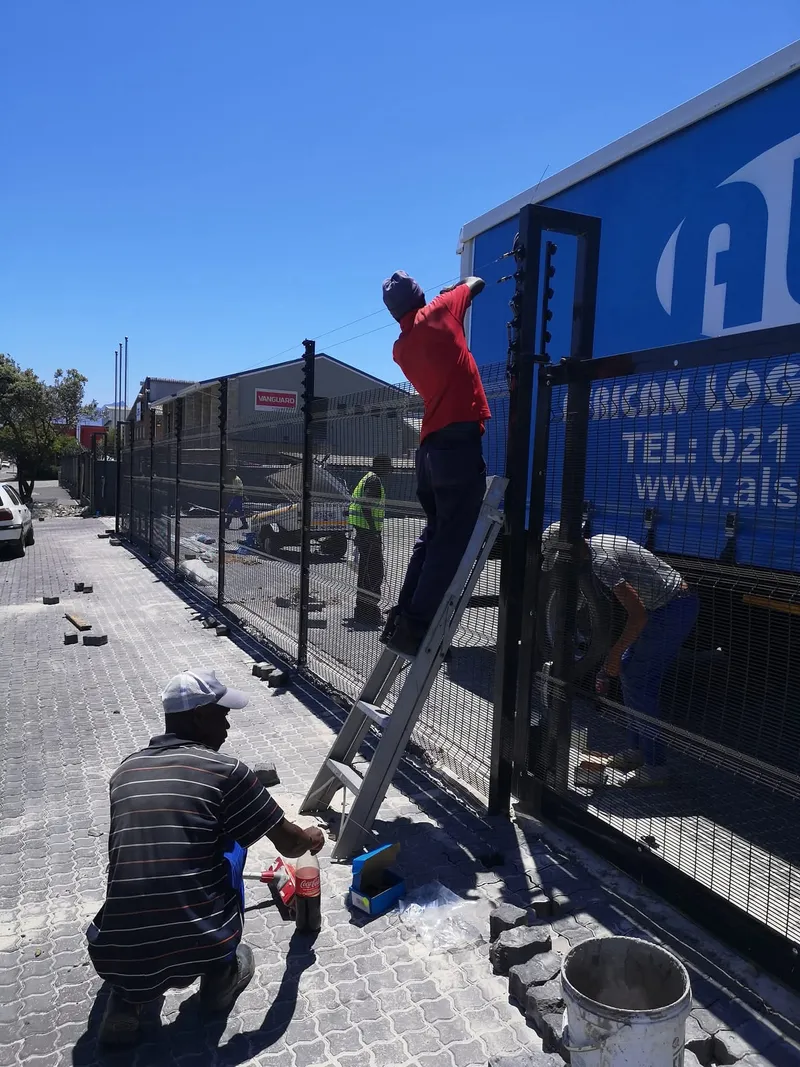
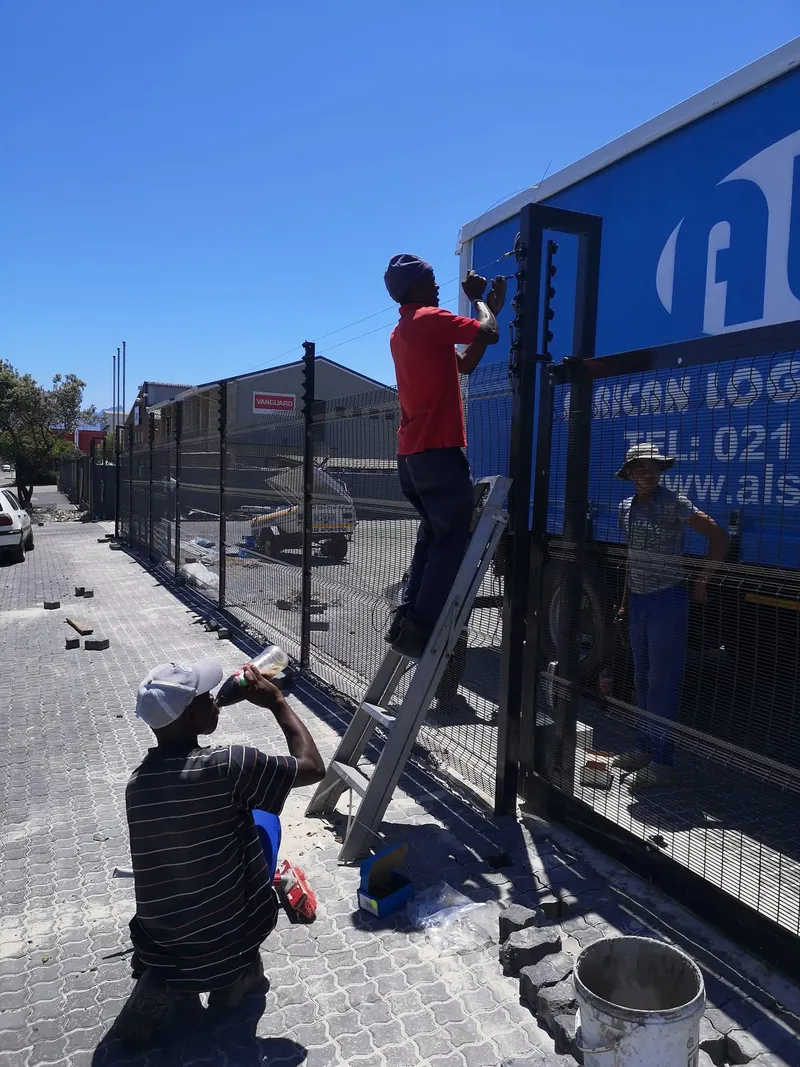
Step 7: Electric Fencing Integration
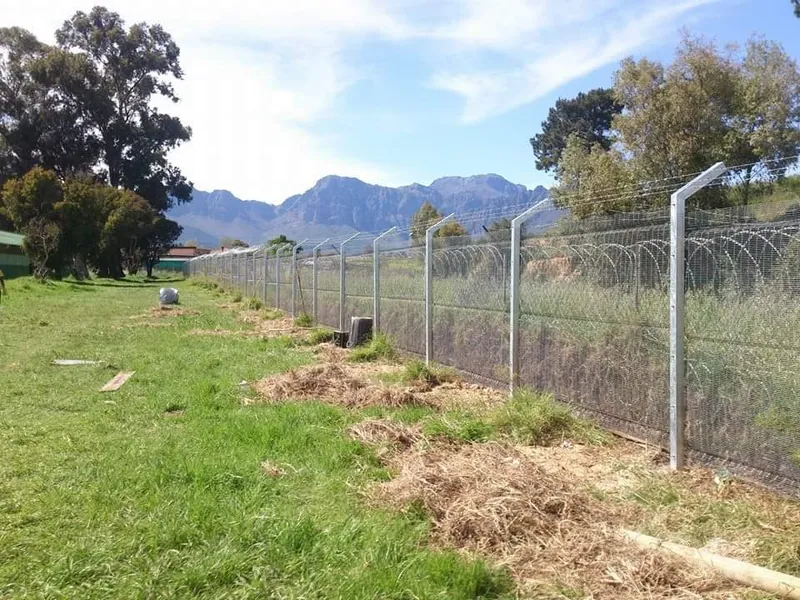
Many Cape Town property owners add electric fencing on top of their perimeter fence for additional security. The electric fencing installation involves:
- Mounting brackets to the top of fence posts at the correct spacing
- Running high-tensile wire between brackets, typically 4 to 6 strands
- Installing the energiser unit in a weatherproof enclosure, connected to mains power
- Connecting earth rods (minimum 3) for proper grounding
- Installing the required warning signs at specified intervals (legally required in South Africa)
- Testing voltage output along the entire perimeter to ensure consistent coverage
- Registering the installation with the relevant authority (required by law)
Electric fencing must be installed by a registered contractor and comply with SANS 10222-3 standards. The installation must also be registered with your local municipality as required by the Occupational Health and Safety Act. Our team handles all compliance requirements and provides the necessary certificates.
Step 8: Final Inspection and Handover
Before handover, a thorough final inspection covers:
- Alignment: All posts are plumb, panels are level, and the fence line is straight.
- Stability: Posts are firmly set, panels are secure, and there is no movement or rattling.
- Finish: No scratches, dents, or coating damage. All fixings are tight and tamper-proof.
- Gates: Open and close smoothly, latches engage properly, and locks work correctly.
- Electric fencing: Voltage is consistent, all warning signs are in place, and the certificate of compliance is issued.
- Site cleanup: All waste, packaging, and excess materials are removed from site.
You will receive warranty documentation for the installation and materials, along with a maintenance guide to help you keep your fence in top condition. See our fencing maintenance guide for detailed care instructions.
Timeline Expectations
Here are typical installation timeframes for different fencing projects in Cape Town:
| Project Type | Length | Duration |
|---|---|---|
| Small residential (clearview) | 30 - 50m | 2 - 3 days |
| Medium residential (clearview + gate) | 50 - 100m | 3 - 5 days |
| Large residential (palisade + electric) | 100 - 200m | 5 - 8 days |
| Commercial perimeter | 200 - 500m | 1 - 3 weeks |
| Industrial complex | 500m+ | 2 - 4 weeks |
These timeframes assume normal ground conditions and good weather. Rocky terrain, steep slopes, wet weather, and material lead times can extend the schedule. Your installer will provide a detailed project timeline during the site survey.
Ready to start your fencing project? Request a free quote or use our fencing cost calculator to estimate your project cost. You can also browse our full range of fencing services to find the right solution for your property.